Friday, 4 October 2013

Anatomy - The Hike

So I posted that astronaut to polycount and recieved numerous critiques about how it didn't look the best. "Fair enough" I say. Taking that criticism in stride, I moved onto making a face to show some more of my ability in the facial sculpting field.


There's plenty wrong with it, but when you consider my past endeavours I'd say it's a step up.

To cut this short, I'm going to start studying anatomy. I purchased a copy of Eliot Goldfinger's Human Anatomy study for Artists, so now I've got to put that money to good use!

It's time to train my eye and hand, folks. This is going to take a couple of years, but hopefully there's some solid improvement in the first few months.

It's time for the hike.

-


Made a skull to start off my anatomy course today. Plenty of work needs to be done on it for it to even be considered "final", but for a 3-hour sculpt I'd say it went okay.

Another update of the skull (as well as my layout) below.

Worked on a female face on the weekend.


-

Beginning work on "Hangman", a model based on one of my friends military uniform "kits". 


Wednesday, 2 October 2013

Astronaut Facial Study WIP

Working on this on the side. An old model I busted out a few months ago in an effort of studying certain elements of a face. He's deliberately goofy and cartoon-looking.


 Here's my previs sketch of the Astronaut.

Tuesday, 1 October 2013

Practicing UDK - "Airport" Environment

So I started building assets for my airport scene.


Just testing stuff at this stage. Nothing final. Both clock in at about ~1000k tris. It's a bit expensive but I'm sure UDK can handle it. Also developed spec, diffuse, and normal maps for each model. 

It took about 45 minutes from start to finish, a nice little time frame!


Sunday, 22 September 2013

C17 Globemaster


WIP C17 Globemaster (Low-poly)

I will progressively update this one.


The stores and flaps are easily manipulated, which would (in theory) aid in animation.


Final passes. Damn, this took a while. About five days on-and-off start to finish. Not my usual time frame. However, I'm very pleased with the results. Only ~6.5k tris, with modular UV maps. The hardest part was fitting it all into one map, as well as finding images for the interior. 

For a detailed look at the model, click here!


Thursday, 22 August 2013

Centaurion Marine


Centaurion Marine WIP


I've been practicing harsurface sculpting in zBrush for a while now, and I'm certainly starting to get somewhere. 

This is the basemesh, all of the pieces of armour are based off of it.

Here are some more detailings on the armour:


Spent the last 10 hours finished the rest of the armour. Now all is left is the head/helmet, and some sort of sci-fi rifle. Then it's onto the worst part: retopology. 


 Fixing up some of the proportions.


Began texturing!


Render tests!


Thursday, 16 May 2013

Zephyr Patrol Tank

"Zephyr" Patrol Tank

I worked on this model a while ago, but I think it's fair to upload it now. It took about a day to model from scratch and a few hours to texture. 

Not a lot to say about this one. Final polycount was 65k quads. 


Wednesday, 24 April 2013

Gone with the Blastwave: Rifle


Gone with the Blastwave: Rifle


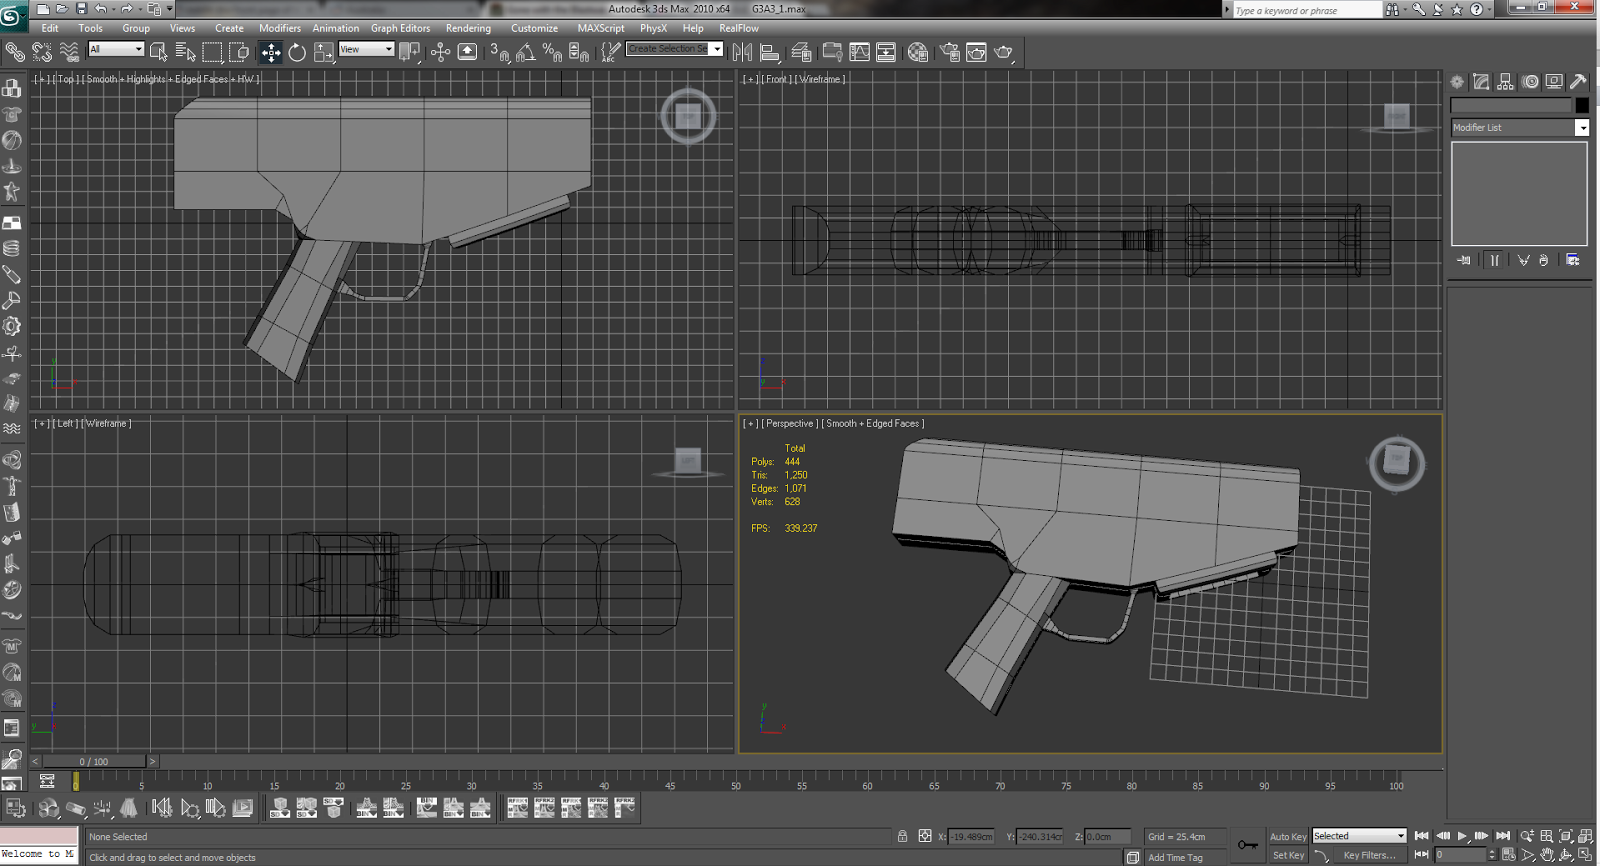
 So with my character model finished, I needed to find some sort of equipment for him to use. My attention was drawn to the snipers weapon in this comic, as well as a few others. The gun looks similar to the G3A3 assault rifle. 

So with that as my inspiration, I started working away at my next asset for this character.

As you can see below, there are some very simple stages when creating a gun model. Despite the fact that there are literally millions of images of guns online, it's still difficult to find certain angles of which one can work off of. I basically had to use inference for some parts of the gun. For example, the width of the handle and stock. 


I came back a few days later with a new outlook on what the rifle should be like. The new version was more topologically correct, with each polygon actually serving a point, as well as the rifle shown below being more accurate to its real-life counterpart.


After about a day of texturing in photoshop, with the help of about 15 brushes and custom textures, I finished the rifle. As you can see below, I textured two variants. One realistically: a worn, torn, battle rifle that had obviously seen a lot of action, and the one below that, a party-like weapon, painted in such a way to offer barely any camouflage in the elements. 

Of course, the party-gun was just for kicks. I think it still looks cool, though. 

Here's a final render of the gun. Of course, there are two sides, and the other side has a bolt and a few differing aesthetics, but it's nothing too fancy.